I talk a lot about website images. Particularly the importance of using high-quality images on websites. And it’s something I’ll continue repeating forever. Because I believe that images play an integral role in your brand image. Good images make you look more professional and make your products and services more appealing.
All small businesses can benefit from investing in taking better images for their website. Whether you are a brick and mortar clothes shop, selling handmade cosmetics online or you providing services – high-quality images are essential.
Potential customers visiting your website see the images before reading any text and will use these to get an instant impression of your business. Poor quality images reflect badly on you. You may have an awesome product but if you’re using blurry, dark images you’re going to struggle to sell and market it.
So today I’m sharing 5 tips to help you take better images for your website without special equipment or photography training.
1 // Light, light & more light
The single most important tip I can give you regarding photography – is ensuring you have enough light. The correct lighting is vital when you are taking photos.
By being aware of the light in the room or how it falls on your subject you can dramatically improve your image. And that doesn’t mean you have to buy fancy lights or specialist equipment. All you need is natural light. A natural light source you will ensure your images look clearer and brighter.

You can achieve this by using the light coming through the windows in your home or office. Set up a spot near a window to take images and ideally make sure the light is behind you and in front of the subject. As this will ensure the subject is properly lit and not over exposed. If you can’t get near a window, make sure the room is filled with as much natural light as possible. White or light coloured walls are also a bonus as this will help reflect the light.
When taking photos outdoors, you ideally want to avoid the midday sun. It can be too harsh and you’ll end up with dark shadows or areas that are blown out on the image. The optimum times are early mornings or late afternoon/early evening, as this is when the light will be ideal for shooting.
2 // Set the scene
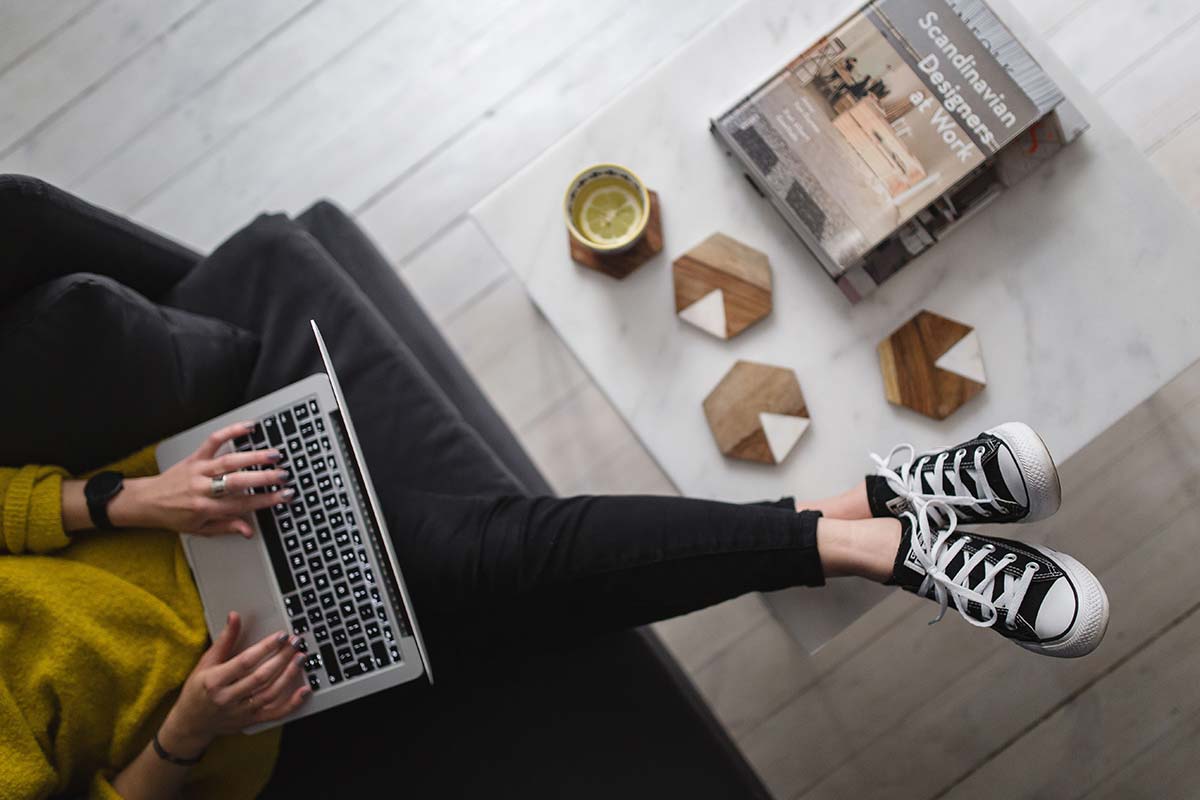
When you’re photographing products to add to your online shop or showcasing items that you offer it’s really important that you set the scene.
Humans are visual. We like looking at nice things especially when it comes to buying a product or service. It has to feel good, look good and we have to imagine ourselves using it.
And that’s what many of us struggle with. We find it hard to picture what something looks like in a proper ‘real life’ concept. This is why you often see retailers using photos of their products in a real life situation.
For example, let’s say you sell sofas. Images of the sofa in a room setting are going to be more appealing than an image of the sofa against a plain white background. People can then visualize the sofa in their own homes easier.
Carefully selected props can also help enhance your scene setting and product photography.

3 // Shoot from different perspectives
Play around with angles and perspectives. Don’t be afraid to think a little differently and experiment when shooting the images.
If your subject/product has a detailed finish or special features, take multiple images from a variety of angles. Get in close, shoot from the side, get a low angle, take an image from above – the possibilities are endless.
Giving people the opportunity to get a real feel for the product by letting them see multiple images will increase the chances of them purchasing.

Keep your surroundings in mind when you’re taking photos from different angles. Take a moment to clear up any unnecessary or distracting items in the shot. One thing I often see in images is the ‘accidental selfie’ which typically occurs when there is a window, mirror or reflective surface in the photo. You can avoid this by adjusting the angle and your position when taking the photo.
4 // Make your images larger
In recent years, websites have been utilizing large images within their designs, particularly on the homepage.
Full screen sized images give a high-impact effect. But to really make the most of the large images you need to make them high-quality.
And with more people using retina screens on their phones and computers, it’s vital that your images are crystal clear. To ensure the best quality make the image at least twice the size that is required. For example, say you have a space that is 800px wide, ideally you should save the image at 1,600px so that visitors with retina screens see the same clear image.
5 // Avoid the cheesy stock
Sometimes it’s not possible to take your own photos – maybe you don’t have the time or just don’t want to. Instead, you can opt to use stock photos.
Stock photos aren’t a new concept and online image libraries have been around for years. What is new, however, is the style of stock photos that are now commonly used on websites and blogs.
The stereotypical slightly boring stock images that you used to see are now being swapped for lifestyle photos. Lifestyle images create a more authentic ‘real’ vibe compared to the sterile posed images that used to dominate the stock libraries.
If you do opt to use stock photos, I have 20+ resources for free stock photos that feature everything from office setups to landscapes and animals. Other resources are Etsy and CreativeMarket who both provide stock images from sellers for minimal investment.
FINAL THOUGHTS…
As a designer, I’ve seen first hand how photography can make or break a design. A well-designed website can be instantly ruined by using poor quality images.
Which is one of the reasons I believe every small business should invest in professional photography (when they can) for their marketing and website.
But I also know that photography can seem like an unnecessary cost for small businesses. So if you aren’t yet at the stage of making the investment, you can take steps to make your own images better.
Want to improve your website photography? Find out how to take better images for your website.